
If you’re bored with a recurring yoga routine, it’s about time you amp up your experience with dynamic yoga poses. Dynamic poses will improve your body’s strength and stability, body balance, and mental well-being to provide you with some inner peace and tranquility.
Dynamic yoga poses are also simple to practice if you’re starting out on yoga. All you have to do is to listen to your body and adjust depending on your limitations.
What are dynamic yoga poses?
Dynamic yoga poses feature fluid movement of muscle fibers in and out of static poses. Most of the stretches are centered around how you breathe. Each inhale pulls you deeper into the stretch, and each exhale stretches your muscles.
Yoga poses help to stretch muscles in various ways, which is important for both the nervous system and physical well-being. This could be static or dynamic stretching.
Dynamic yoga poses allow for dynamic stretching, which improves speed and agility and can help prevent injury and muscle cramps. Dynamic stretching entails going deep into a stretch by involving several muscle fibers and moving joints to their full range of motion during the stretch.
5 Dynamic Poses to add to your yoga practice
The benefits of dynamic poses cannot be overstated. From posture correction and increased muscle strength to improved breathing, there are countless reasons to add dynamic poses to your yoga routine. Here are some dynamic yoga poses you should always take advantage of in your practice.
Warrior II (Virabhadrasana II)
Warrior II is a standing yoga pose that improves concentration, energy, balance, and strength. It will tone the abdomen, strengthen thighs and buttock muscles, increase blood circulation, and enhance lung capacity. Also, the chakras that stand to benefit the most from practicing warrior II are the sacral and heart.
How To Do The Warrior II Pose
Here is a step-by-step guide to doing this dynamic asana practice:
- Begin with a standing mountain pose (Tadasana) and take a deep breath while concentrating inward on the body’s core.
- With hands on the hips, exhale and step back around 4 feet with the left foot. Heels should be aligned with each other, the right leg facing the top of the mat and the left leg on the side of the mat.
- Bend the right foot at 90 degrees and ensure the thigh is parallel to the ground. The back leg should remain straight while doing this.
- Lift arms to shoulder height with the palms facing downwards and focus past the tip of the front middle finger.
- Lift the chest, drop the shoulders, draw the belly towards the spine, and maintain this posture for a minute. When inhaling, bring the arms above the head to touch and straighten the right foot, and when you exhale, go back to the previous position.
- Repeat this process 5-10 times before changing to the other foot for the same exercise.
Gazing forward eliminates all distractions, thus improving concentration by channeling all the energy into one place.
Cat cow stretch (Chakravakasana)
A cat-cow stretch is essential in relieving back pains, improving posture and seating, and enhancing spine health. It involves exercising the spine in conjunction with an inhalation or an exhalation, making it a good stress-relieving exercise.
How to do the Cat cow stretch dynamic yoga pose
A cat-cow stretch is done on all fours by sticking to the following guideline;
- On the mat, go on all fours with wrists aligning with the shoulders and knees with the hips. Ensure that the toes are curled under.
- Keep the spine neutral by maintaining it in a straight line from the back of the head to the tailbone, with the neck extended by looking long and out.
- Inhale and arch into a cow pose by moving the pelvis back for the tailbone to stick out. The belly will drop but draw in the abdominal muscles and gaze gently to the top of the ceiling and hold for a while.
- Exhale and move into the cat pose by flattening the curled toes to the floor, moving the pelvis forward, and the tailbone will sink in. This process should start from the tailbone, moving up the spine for the spine to round naturally.
- Then, drop your head and look at the navel, which is tucked in your spine.
Repeat the cat-cow stretch simultaneously with every breath you take for about 5-10 breaths while exercising your spine. When done, come back to a neutral spine.
Remember not to strain the neck and restrict the movements to the spine.
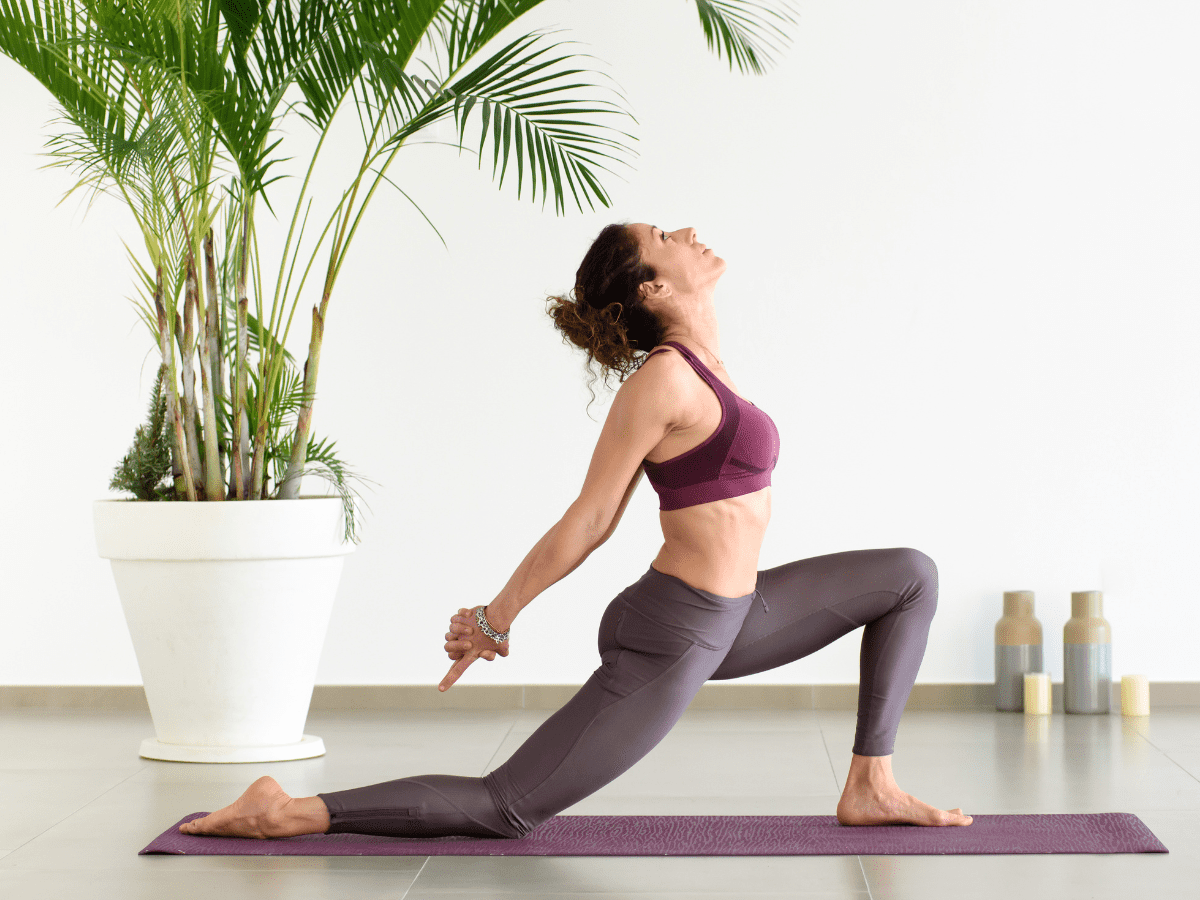
Low lunge
When starting out on yoga, the low lunge dynamic stretch can be a welcoming pose into the world of health and fitness. This dynamic yoga pose is good for the following areas;
- Strengthens the glutes
- Stretches the chest, groins, hamstrings, and thighs
- Improves energy, stability, and balance.
How to do the Low lunge pose
Stick to the following guideline for an effective low lunge pose:
- Begin in Adho Mukha Svanasana (Down Dog) position.
- Exhale and move the right foot forward between the hands and the knee, aligning with the ankle.
- Slowly kneel with the left knee and untack the toes to the floor or mat. Then, gently slide the left knee backward as far as possible while maintaining comfort.
- Inhale with the arms resting on the right thigh and anchor the feet for support while stretching the spine and lifting the top of the head to the ceiling.
- Lift the arms overhead with their palms facing each other. Shoulders should be lowered down and far from the ears, but the ribcage should be extended upwards and outwards.
- Reach out for the glutes and abdominals for increased balance and stability.
- Maintain this position for a minute and step back to the down dog position to exercise with the other foot for the same length of time.
In case of any knee pains, cushion the knee against the floor with a towel and remember not to round the back. It should be straight throughout the stretch.
If you’re fit and flexible, consider using props to achieve extra flexibility.
Chair Pose (Utkatasana)
Chair pose is a good stretch for beginners who want to strengthen their legs and arm muscles, improve their core stamina, enhance their cardiovascular health, and improve balance and grounding. The chair-dynamic yoga pose works on three chakras, namely, the root, sacral, and solar plexus.
How To Do The Chair Pose (Utkatasana)
So, how does one conduct chair pose? To perform chair pose, follow the following steps:
- Start off in a Tadasana (mountain standing pose)
- Inhale and extend the arms upwards over the head at an angle that the biceps are slightly in front of the ears. Keep the arms parallel, join the palms, or keep the palms rotated inwards or outwards.
- Exhale and bend the knees to be parallel to the ground and draw your weight into the heels.
- Extend the ribcage outwards and upwards and the tailbone towards the floor to maintain a lower back.
- Maintain this pose for a minute, then come out of it by inhaling while rising up through the arms.
- Lastly, exhale and rest the arms to the sides into a Tadasana.
This asana is built on perseverance, determination, and commitment. For beginners in yoga to successfully pull it off, they should focus on improving the strength of their legs and enhancing their stability by squeezing their thighs and knees together.
Just like any dynamic stretch, breathing is crucial to pull off chair pose, so be mindful of your breathing. It goes a long way in maintaining a calm and centered person.
Plank to dolphin plank pose
The plank-to-dolphin pose is a modification of the plank pose, which is a major core-building exercise. It was developed for people with wrist problems who cannot perform the Plank pose efficiently; as such, this dynamic pose offers them the same benefits as the plank pose.
These benefits include the following;
- It increases bone density, thus providing more stability.
- It improves posture by strengthening the muscle within the spine.
- Enhances core muscles, arms, and legs.
- Helps in stimulating digestion by facilitating peristalsis of food.
- It boosts confidence and energy levels.
How to do the Plank to dolphin plank pose
So, what are the step-by-step instructions for completing a plank to dolphin dynamic pose?
- Begin on your hands and knees with your shoulders above your wrists and your hips above your knees.
- Bring your forearms to the floor. Press your forearms and palms into the floor. Your back and neck should remain neutral.
- When you’re ready, rise into dolphin pose. Keep your forearms and palms planted as you lift your hips and straighten your legs. (Think downward dog with your arms flat on the mat.)
- Slowly walk your feet backward into dolphin plank pose.
- Clench the buttocks and the back of the legs while engaging the core by tucking in your pelvis and lifting the body using shoulder blades.
- The body should be in a straight line from the head to the heels.
- Maintain this position for a minute with your gaze on the floor while breathing evenly through the dynamic stretch pose.
- To come out of the pose, just kneel.
Wrapping up
Dynamic poses are a wonderful way to bring some extra movement into your yoga practice. We hope you enjoy these five poses. If you’re interested in learning more ways to move your body – Meet us on the mat at Zuda Yoga. We’re currently offering 4 weeks of unlimited classes for $40. Come flow with us!