Modern living forces people into long hours of sitting in unsupportive chairs and desks, not mindful of proper posture. This brings forth a host of health concerns in the long run, including back pain, stiff neck, and poor hip mobility. However, there are yoga poses that help correct posture, improve flexibility in the lower body, and alleviate pain. This powerful yoga pose is Mālāsana; it has provided relief to many people with problems in their lower back, hips, or pelvic area.
Health Benefits of Mālāsana
In Sanskrit, “Mala” means garland and “asana” means pose. In effect, Mālāsana translates to Garland Pose, though it does have other names. Owing to its restorative effects, yoga practitioners sometimes call it Relieving Pose, and because of its positioning, it is also referred to as the Yoga Squat or Frog Pose. Here is a list of its benefits:
- Builds Flexibility: The Mālāsana, or Garland Pose, improves flexibility and builds muscle strength in the lower body. It especially opens the hips and groin, and practitioners benefit from a full stretch in their hips, thighs, ankles, hamstrings, and torso.
- Tones the muscles: Yoga squats tone muscles in the abdominal area, as the pose requires the body to lean forward while in a squatted prayer position. In the process, it also helps build the muscles in the hip and butt area. Mālāsana targets the muscles in the lower body, and it can be easily added to a cardiovascular and core training program.
- Enhances circulation: As the chest expands and breathing is improved, more oxygen is brought into your circulatory system, allowing your lungs to better fuel and rejuvenate your muscles.
- Boosts metabolism: As the practitioner contracts several muscle groups in the body while getting into and holding the squats, their metabolism is bumped into overdrive.
- Improves digestion: Having bowel problems can be quite distressing at times, so it is a relief knowing that a regular practice of Mālāsana enhances the function of the colon by effectively eliminating waste from the body. The squats bring the practitioner’s body to their pelvis, thus improving the downward flow of the Apana Vayu. Apana Vayu is the energy that is responsible for organs of digestion, elimination, and reproduction.
- Enhances focus and balance: Yoga squats are not just a function of physical strength, but mental strength as well. Executing the garland pose requires focus and balance. Are you having problems with concentration, balance, or posture? If so, yoga squats may help you improve in these regards.
- Suitable for prenatal yoga: The Garland Pose is also known to help regulate sexual energy. Pregnant yoga practitioners are encouraged to partake in this kind of exercise, as it prepares the body for labor by opening the hips and groin safely and effectively.
How to Get Into Mālāsana
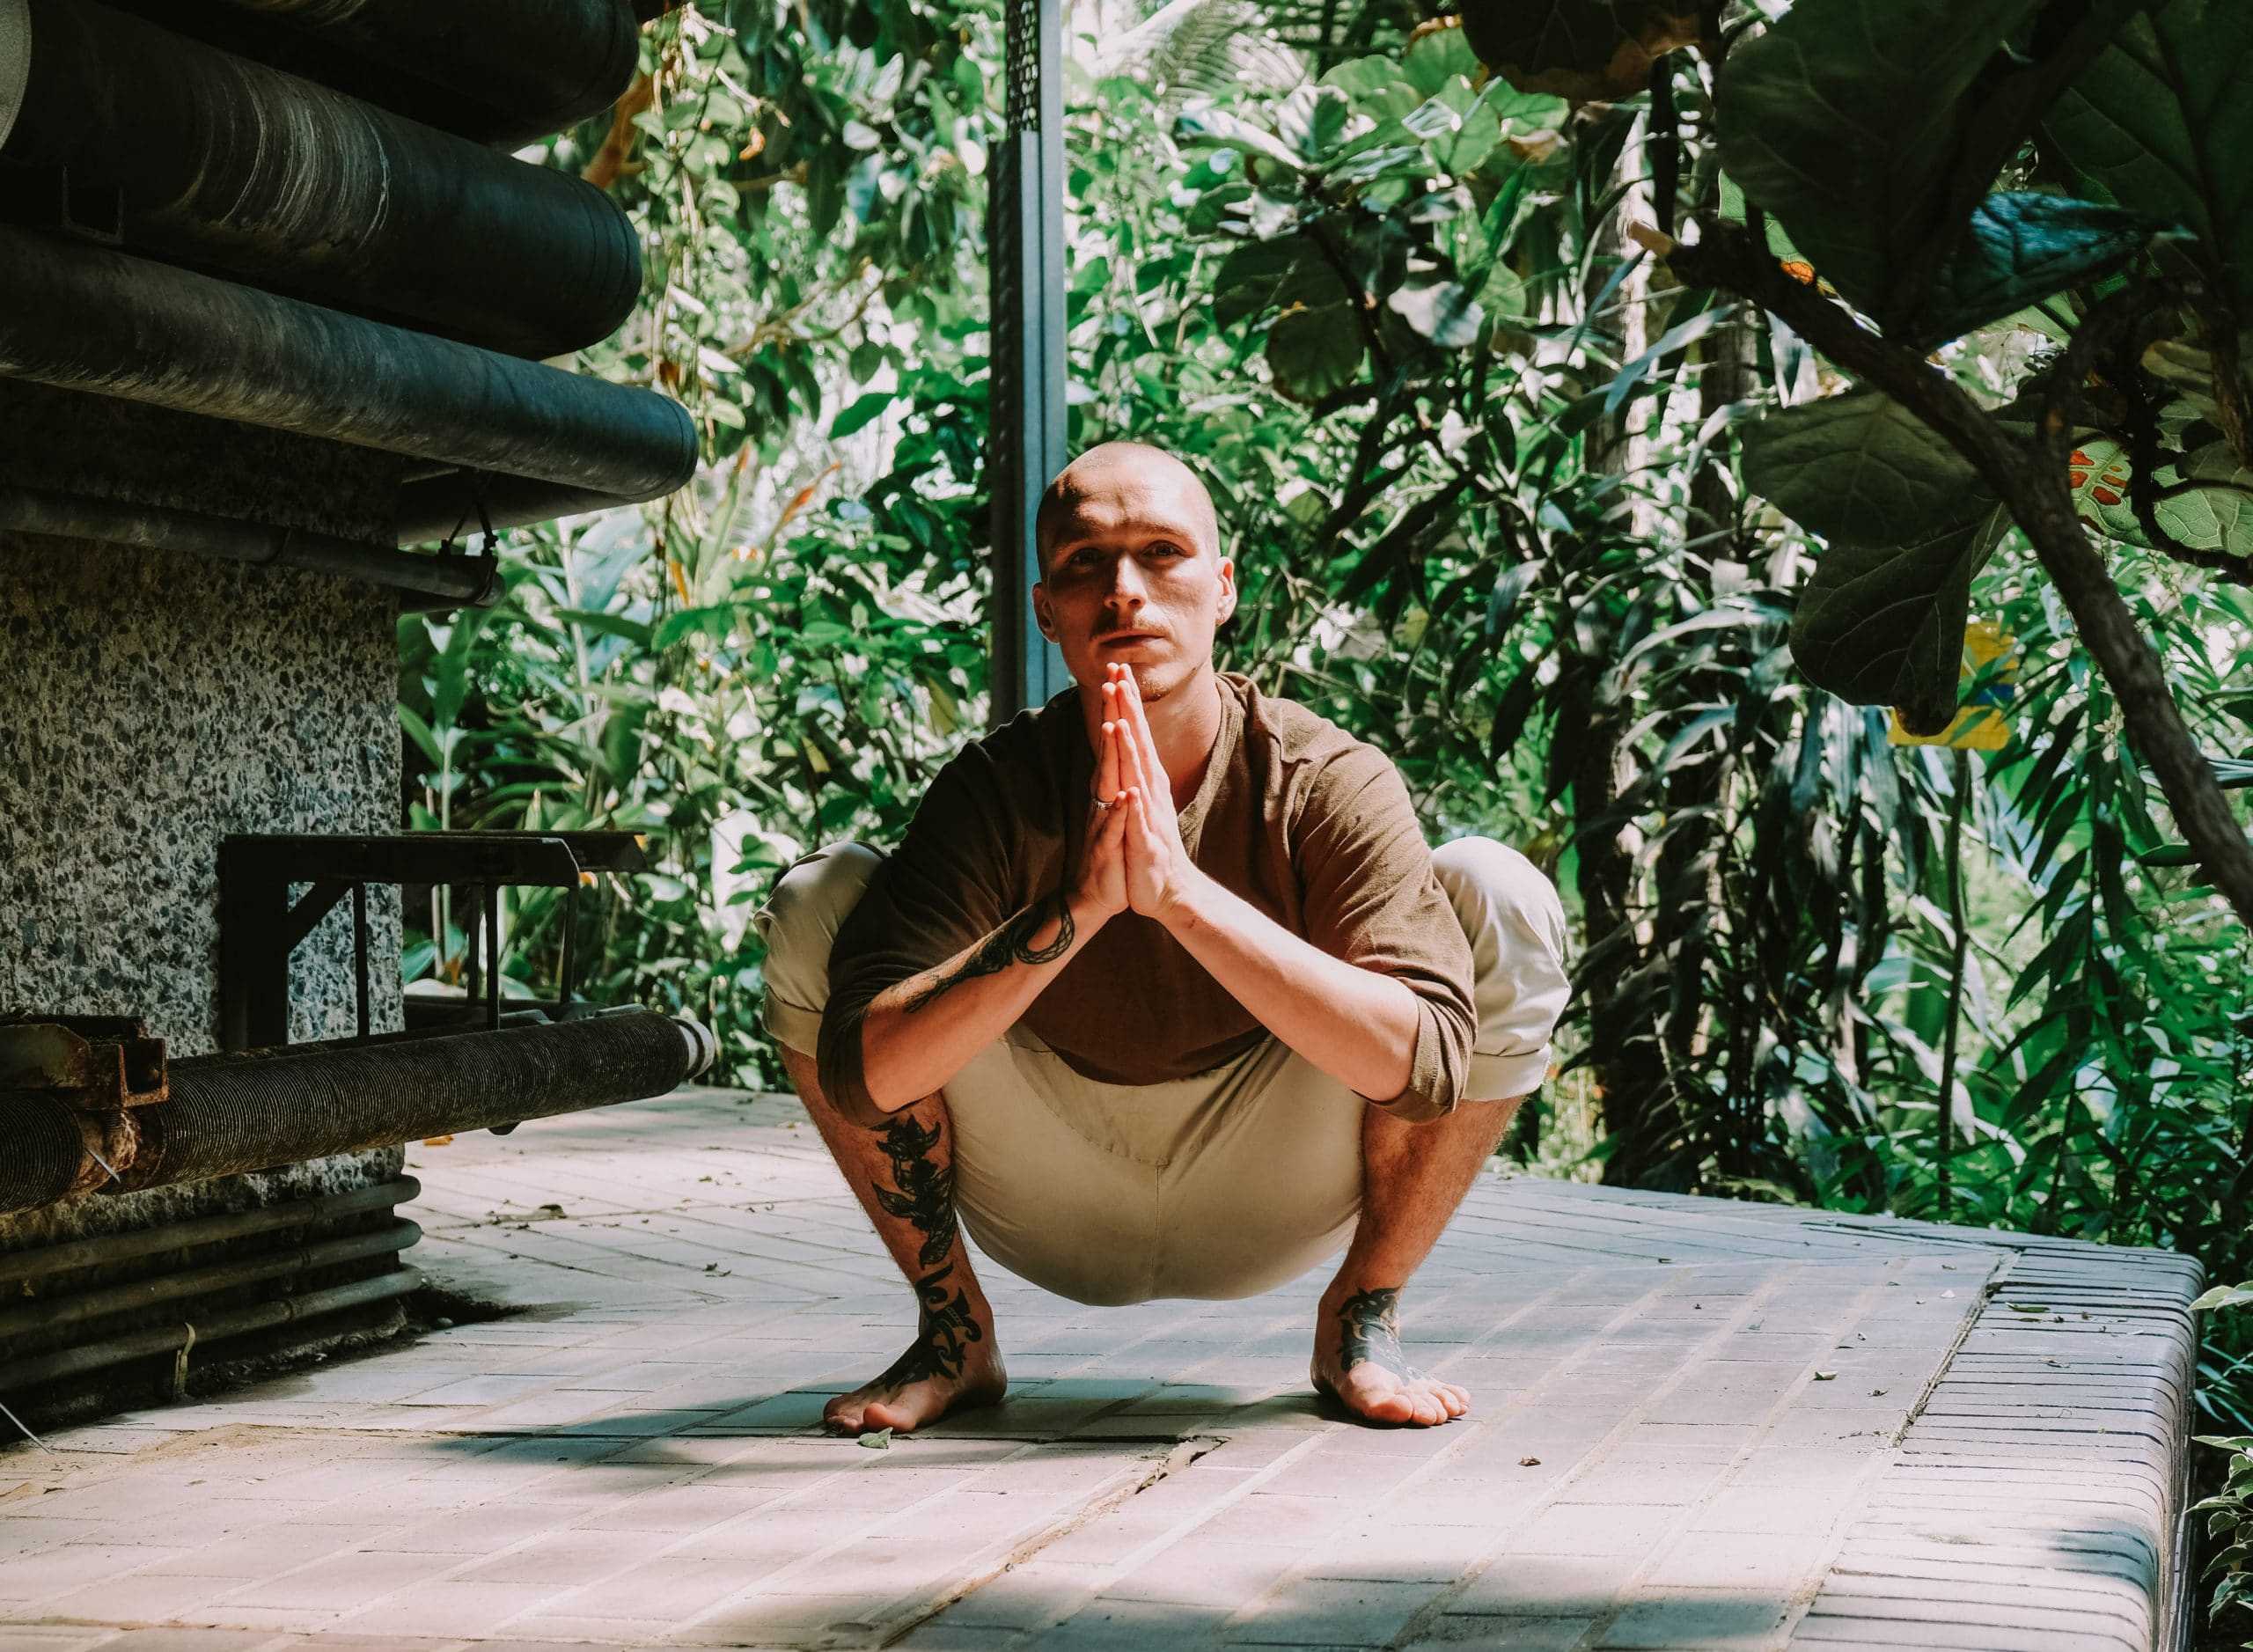
Start in a squatting position. Bring the feet closer to each other at a comfortable distance while still keeping them in a parallel position. Remember to keep your heels on the floor while performing the squat. Using a rolled-up blanket or a folded mat can help keep the heels flat on the floor.
Move the thighs slightly wider than the torso. Exhale and lean forward in such a way that the torso fits comfortably between the thighs.
Keep the front ankles relaxed as you begin to press elbows against the inner knees. The act of bringing the elbows to the inner parts of the knees is what creates resistance. Take the time it needs to execute, then bring the palms together at the center of the chest, as if in a prayer position. Doing so helps lengthen and stretch the torso.
Remember to keep the body forward as you execute and hold the pose at this moment. As a tip for beginners, practice doing Mālāsana or the Garland Pose on an inclined surface.
Press the inner thighs against the sides of the torso to further deepen the pose and extend the arms, then lock the shins right into the pits of the arm. Then press fingertips to the floor or, if able, clasp the back of the heels. As you hold the position, keep the spine straight and the shoulders relaxed.
Beginners can hold this posture for 30 seconds and eventually increase the period to 1 minute, then to 5 minutes. Each individual follows different pacing. Know your limit and remember to honor your body, lest overexertion leads to unnecessary muscle strain or injury.
To release the pose, inhale deep breaths and gradually straighten the knees until you assume the Uttanasana Pose or the Standing Forward Bend Pose.
Preparatory Poses
Some beginners are unable to successfully execute Mālāsana on the first try. It’s perfectly okay and it’s crucial not to be too hard on oneself. With practice, getting into the coveted Garland Pose will only be a matter of seconds.
There are also preparatory poses that allow smooth transitions to Mālāsana. These are Baddha Konasana, Upavistha Konasana, and Virasana.
Baddha Konasana
This is also known as The Bound Angle Pose or The Cobbler Pose. It helps open the hips and stretches the legs and knees in preparation for Mālāsana. To do this, inhale, sit in the staff pose, bend the knees, and join together the soles of the feet. Depending on a person’s preference, hold the ankles or the feet to stabilize. Feel free to move the heels as comfortably close to the groin as possible. Breathe out, release the knees to the ground and relax the arms and shoulders.
Press the bones of the buttock to the floor and allow the crown of the head to point high towards the ceiling in order to lengthen the spine. In doing Baddha Konasana, it is as if the knees are moving like the wings of a butterfly. Hold this pose for as long as 2 minutes if possible, and then slowly release and return to the staff pose.
Upavistha Konasana
Sometimes referred to as the Wide-Angle Seated Forward Bend, this is also a good preparatory pose for Mālāsana. It improves the flexibility of the hips and torso to hold forward bends in a seated position.
Start with a staff pose. Sit on the floor with your legs flat on the floor and your back straight. Open the legs to the sides as wide as you are comfortable. Point the toes of the feet towards the ceiling. Inhale and lengthen the spine. Then start walking the Stromectol price in USA fingers forward on each exhale, being the upper body forward with arms extended on the floor. Remember to keep the back straight. Hold this pose for 1 to 2 minutes if possible. To exit, slowly walk the hands back and return to staff pose.
Virasana
Virasana, the Hero Pose, stretches the ankles and the quads and builds flexibility in the thighs, ankles, and knees. Performing Virasana helps those who have problems stretching their legs in preparation for Mālāsana.
Virasana is easy. Begin with an upright kneeling position — hips above the knees and upper part of the feet flat on the floor. Gradually move the feet apart and, upon exhaling, bring the buttocks and the hips down on the floor in between the feet. Remember to keep the knees together as you separate the feet.
It is alright to manually move the calves apart, if only to ensure that the butt is not sitting on the feet but between them. Always keep the toes tucked under and the feet pointing straight. The shoulders must be away from the ears and hands resting on the lap.
Remain in this pose for a minute or two. Then slowly press the fingers on the floor and lift the butt off the floor. Cross the ankles and come into the staff pose.
These preparatory poses will significantly help you effectively execute the Garland Pose, especially if you’re a beginner.
Follow-Up Poses
To facilitate a transition after coming out from the Mālāsana, there are recommended follow-up poses that a yoga practitioner can observe. These are Uttanasana, Adho Mukha Svanasana, and Bhujangasana. The practice of yoga, after all, is like a dance where one pose naturally moves into the next.
Uttanasana
Also called the Standing Forward Bend, this is a simple and effective forward fold that targets the whole body and is doable right after executing the Mālāsana or the Garland Pose. How to practice? Stand with your hands at your hips, then gradually bend the knees a little to keep them from locking and fold the upper body over the legs. Make sure that you anchor from the hips, not from the lower back, as you fold. Choose whether to place the hands beside the feet or on the floor in front.
Let the head hang as you hold the pose for a minute. To come out of the pose, inhale and position the hands onto the hips and press the tailbone down, contracting the abdominal muscles and slowly rising back to a mountain pose.
Adho Mukha Svanasana
Popularly known as the Downward Facing Dog, this is another follow-up pose that naturally follows after the Garland Pose. It strengthens leg and arm muscles and alleviates pain in the lower back. This is a fundamental yoga pose that many beginners are familiar with.
Start in a table pose, knees under the hips and palms aligned with the shoulders. Then move the hands forward so they are now ahead of the shoulders. Curl the toes under and spread the palms of your hands on the floor. Exhale and lift the knees from the floor, keeping them slightly bent and the heels lifted. Then lengthen the tailbone from the back of the pelvis, lift the sitting bones, and draw the inner legs up through the groins. On exhale, push the thighs back and extend the heels toward the floor. Then straighten the knees, but do not lock them.
Get the outer arms ready and press the bases of the index fingers on the floor. From here, lift the inner arms from the wrists to the top of the shoulders. Ensure that the shoulder blades are held firm and stable against the back, then expand and draw them towards the tailbone. Keep the head in between the upper arms.
Downward Facing Dog resembles a human triangle with extended arms and legs forming the sides. Hold this pose for a minute or two if possible before bending the knees and coming out into a child pose.
Bhujangasana
The last follow-up pose is the Bhujangasana, the Cobra Pose, which opens the chest and stretches the entire body. This relieves pain in the back and soreness in the shoulders and upper body.
Start with the belly on the floor and the feet placed apart, in line with the hips. Put the hands beside the ribs, extend the big toes back, and press down using all toes. To widen the lower back, rotate the inner thighs toward the ceiling. Then press down lightly with the hands and start to lift the head and the chest while rolling the shoulders back and down. Remember to lengthen the neck and keep the arms straight, elbows slightly bent. To exit from the Cobra Pose, simply release back to the mat.
Common Mistakes in Mālāsana
Yoga places importance on the accuracy of poses. To maximize the health benefits of Mālāsana, it pays to follow the preparatory and follow-up poses, as well as to take heed of common mistakes in the execution of Mālāsana. Avoid the following:
- Placing the feet too close together so that balance is affected.
- Relaxing the core and the legs; this defeats the very purpose of Mālāsana.
- Failing to expand the chest as the body leans forward.
- Leaning too far forward so that balance becomes compromised.
- Rounding the back instead of lengthening it and keeping it straight.
- Not aligning the neck with the spine, causing stiffness and poor posture.
The goal of Mālāsana is to build flexibility from the hips down to the thighs and ankles. Failing to stretch and keep the back straight, for instance, or failing to maintain the optimum distance between the feet, affects the form and can lead to mishaps such as falls, muscle strain, and joint injuries.
Conclusion
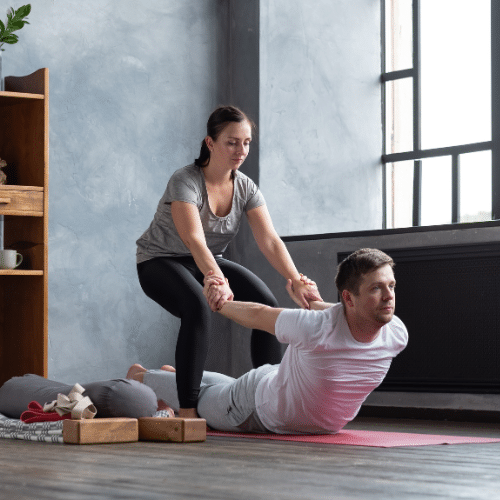
To ensure that you do Mālāsana properly, seek out tutorial videos available or professional yoga programs with trusted fitness instructors and centers near you. These programs can put you in contact with experienced yoga teachers who can coach you through the pose.
And always, remember to honor your pace when doing Mālāsana, or any other yoga pose for that matter. Your safety is more important than your speed.
