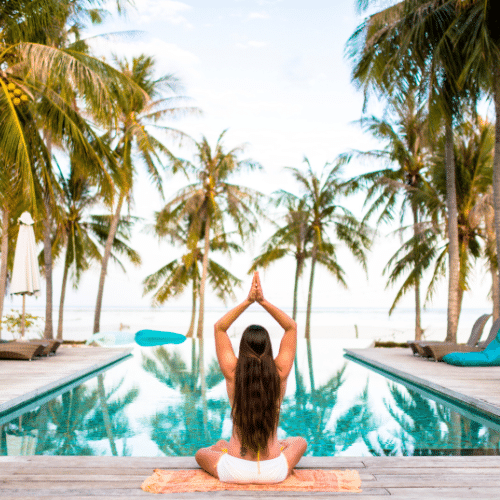


You must have encountered the pavanamuktasana pose when looking up supine yoga poses in your health journey. This blog features all you need to know about that pose, otherwise known as the wind relieving pose. Learn about its etymology, how to achieve it, the benefits associated with this yoga pose, and tips to achieve it correctly.
What Is the Pavanamuktasana Pose?
Pavanamuktasana (pronounced like pah-van-ah-mook-tahs-ah-nah) is a Sanskrit name consisting of three other words:
Pavana, meaning wind
Mukta, meaning free
Asana, meaning posture
Together, they describe a reclined yoga pose that beginners and experts alike can experience. It is also known as the wind relieving pose because of how this posture “frees” the “wind” in the person’s abdominal region.
With this yoga pose, the person massages their abdomen gently. As such, they release tension in that area caused by excess gas, including the lower back. Thus, this pose expels any “wind” trapped in the stomach and intestines.
How to Achieve the Pavanamuktasana Pose
Beginners and advanced yoga practitioners can achieve this pose easily. Here are the steps divided into three stages:
Stage 1: Preparation
- Step 1: Do the child’s pose.
- Step 2: Do the standing forward bend.
Stage 2: Pavanamuktasana Proper
- Step 1: Lie on your back.
- Step 2: Extend your arms and legs.
- Step 3: Inhale.
- Step 4: Bring both knees to your chest as you exhale.
- Step 5: Put your hands around your knees to keep them against your chest.
- Step 6: Release your left leg slowly while clasping the right.
- Step 7: Bring your left leg back to your chest and clasp it again.
- Step 8: Release your right leg slowly while clasping the left.
- Step 9: Bring your right leg back to your chest and clasp it again.
- Step 10: Release both legs while exhaling and then rest.
Stage 3: Follow-Up
- Step 1: Do the shoulder stand.
- Step 2: Do the corpse pose.
Basically, the pavanamuktasana pose involves clasping the knees to the chest and releasing them alternately. Although we presented this pose in three different stages, people interested in achieving the wind relieving pose can go directly to the second stage. However, we would recommend preparing and following up with other yoga poses for the full experience.
Benefits and Cautions of the Pavanamuktasana Pose
Achieving the pavanamuktasana pose promises exactly what its name suggests. That is, the person will release extra wind trapped in their body for relief.
Removing this excess gas from the body may improve the person’s overall digestive health. Regular practice could help relieve stomach acidity, bloating, constipation, flatulence, and indigestion.
Besides this, the pavanamuktasana pose is also an excellent exercise for toning muscles, particularly in the arms and legs. It also strengthens the back and abdominal area, making it a versatile stretch with nearly full-body benefits.
Although these benefits are available to beginners, they must still exercise caution when trying pavanamuktasana for the first time. First-timers must assess whether they have undergone any abdominal surgery recently.
Those with a hernia must also be careful when attempting this pose. Those with spinal injuries must avoid this pose altogether. Likewise, pregnant individuals must not attempt this pose, considering that it involves bringing the knees to the chest.
Beyond these specific limits, those attempting this pose must remember to work within their limits, which vary between individuals. Some people are more flexible than others, which may help them achieve the pose earlier than most people.
Finally, anyone worried about trying this pose for the first time would do better to consult their doctor beforehand. Despite the medical benefits associated with the pose, it is always better to seek professional medical advice to be on the safe side.
Pavanamuktasana Pose Variations and Tips for Beginners
Beginners can easily achieve the pavanamuktasana pose as it is. However, those with limited range may modify the pose to suit their abilities. Achieving this pose must be as comfortable as possible, considering that its goal is to relieve the person. Here are some simple pose variations that beginners can explore:
- Bring the Knee to the Armpit: Some people may struggle bringing their knees to their chest. Perhaps they have large chests or stomachs in the way of drawing them to the chest. As such, it would be difficult to clasp their hands around the drawn legs. They can try drawing their knees slightly to the side instead of directly to the chest.
- Use a Yoga Strap: Yoga straps around the knees can help the person hold onto their knee and bring it in easier.
- Alternate Knees: Rather than bringing both knees to your chest, you can bring in one knee, do the wind pose on that side, and then swap to the other knee.
- Foot to the Floor: This tip helps those with tight hips, preventing them from bringing a leg to their chest. They can try bending the knee of the leg they extended, and then placing the foot flat against the floor. As such, they make it more comfortable to stretch their abdominal area.
- Knee to Your Nose: Those who are more flexible than usual can try deepening their stretch. They can bring their nose to their knee as they achieve the full pose.
- Straighten the Extended Leg: This tip is more of a reminder for anyone attempting the pose. People must remember to straighten the leg that they are not bringing to their chest. At the same time, the buttocks of the lifted leg must be as close to the mat as possible.
The Pose for Beginners and Experts
The pavanamuktasana pose literally means the “pose that relieves wind.” True to its name, it is a yoga position that benefits the person’s abdominal area by releasing excess wind. Beginners and advanced yogis alike can achieve this pose by bringing their knees to their chest. Then, they release each leg alternately to achieve a stretch in both legs.
Those who attempt the pose are helping their body direct their body to do what it needs to do. However, people have various levels of capabilities. As such, they must work within their limits to avoid worsening any preexisting conditions, if they have any.
Beginners with limited capacities can attempt variations to the pose to help them achieve it. Variations involve little adjustments to the pose, such as bending some parts slightly to maximize their stretch. Still, these people should consider speaking with their healthcare practitioner before attempting any yoga pose they’re uncertain about.