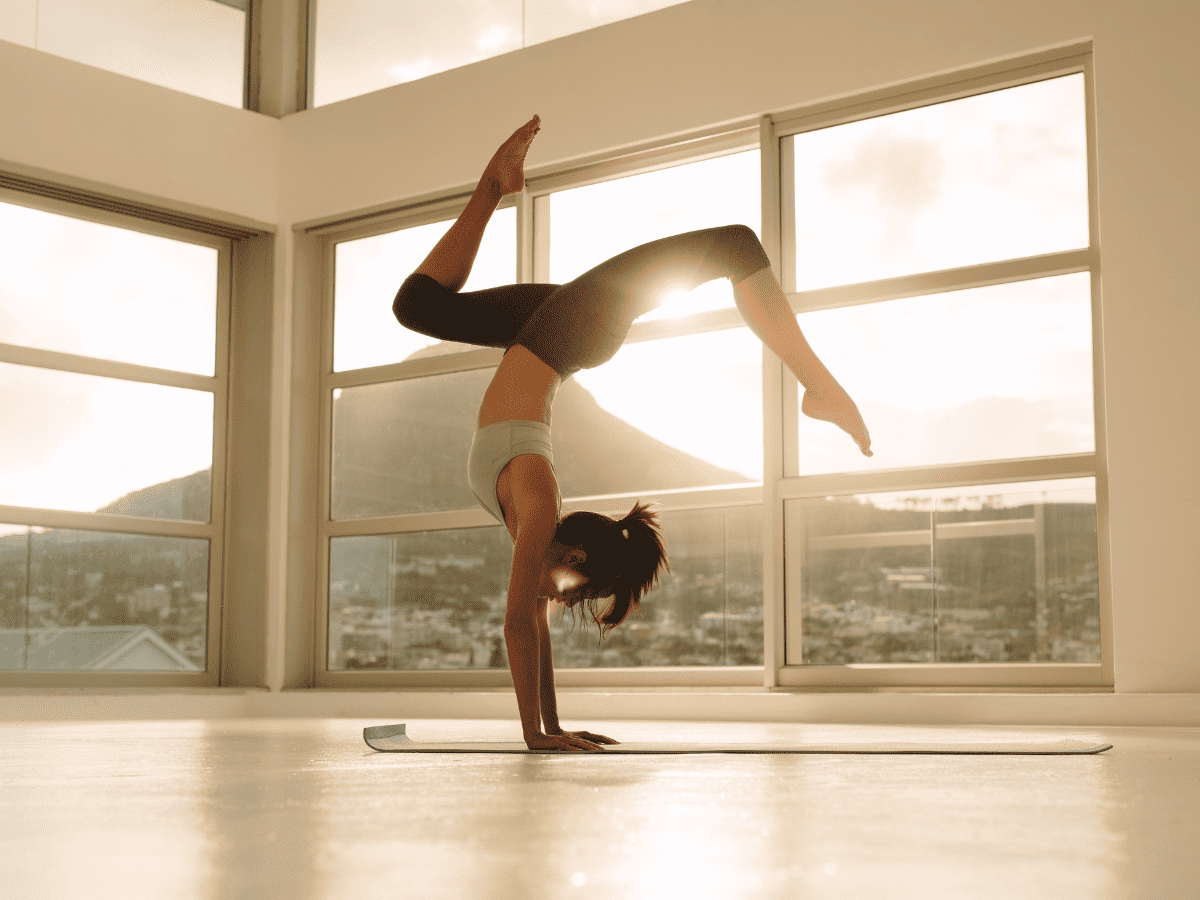
Have you ever wanted to master the art of yoga handstands? Maybe you’ve seen yogis effortlessly balancing on their hands and wondered how they do it. Handstands, also known as Adho Mukha Vrksasana, are a challenging yet rewarding yoga pose that can improve balance, strengthen the core, and increase focus and concentration.
But where do you start if you’ve never attempted a handstand before? In this article, we’ll explore the benefits of handstands, provide step-by-step instructions on how to do a handstand safely, and offer tips for advancing your practice. Whether you’re a seasoned yogi or a beginner, you’ll be able to learn how to do a handstand with confidence and ease.
What Is Adho Mukha Vrksasana?
Adho Mukha Vrksasanais, otherwise known as the handstand, a remarkable posture that challenges the body’s strength and balance. It involves holding the body upside down, with its weight resting on the hands and shoulders. Many people consider a handstand an acrobatics move, but it has many benefits beyond impressing your friends.
Benefits Of Handstands
Handstands are dynamic and challenging yoga pose that offers an array of physical and mental benefits. This inverted pose requires significant strength, balance, and focus, making it an excellent exercise for those looking to push their physical limits.
1. Improves circulation: Handstands not only strengthen the body’s muscles and improve balance, but they also help to improve circulation by returning blood flow to the heart. This can help to reduce fatigue and increase energy levels.
2. Boosts confidence: Performing a handstand is an accomplishment that can increase one’s confidence in their physical ability and strength. It can also boost self-esteem, as the pose requires courage and determination to master.
3. Relieves stress: Handstands have been shown to reduce stress by relieving tension in the body and calming the mind.
4. Improves mental clarity: Handstands can help to sharpen the mind and improve concentration. By focusing on controlling and maintaining balance in a handstand, one’s brain is forced to become more aware of their body’s movements. This heightened awareness can translate into improved focus in other activities.
5. Improves flexibility: Inverting the body during a handstand stretches the muscles and increases flexibility.
6. Increases strength: Handstands provide an intense workout for the arms, back, and core. When done regularly, handstands can increase strength in these areas and improve balance and coordination. Not only that, but they also help to build endurance and prevent injuries by strengthening the muscles surrounding joints.
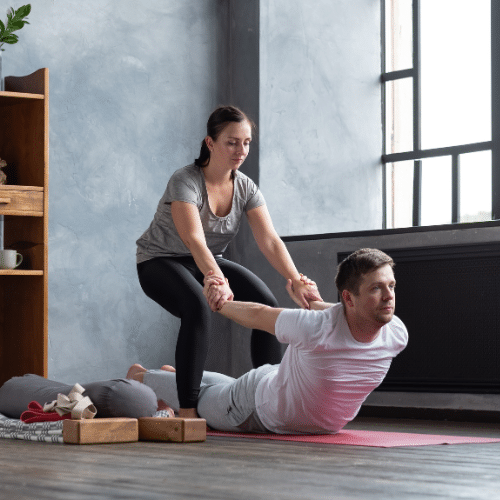
If you’re new to handstands or want to be sure you’re doing them safely, practice with a qualified instructor. Handstands can be an effective and enjoyable way to improve your physical and mental well-being with the right guidance and proper form.
How To Perform A Yoga Handstand
1. Begin in a kneeling position with your arms positioned straight above your head and your palms facing each other.
2. Slowly walk your feet forward until they are behind your shoulders, and you can feel the weight of your body shifting onto the palms of your hands.
3. Engage your core muscles to keep the chest lifted, then slowly straighten your legs and lift the feet off the ground.
4. Continue to press your hands firmly into the floor as you lift your body higher, keeping the legs as straight as possible.
5. Keep your gaze focused on one point in front of you and hold the pose for a few breaths before gradually lowering yourself to kneeling.
Handstand Progression
Handstand progression is a crucial part of mastering the art of handstands. While it may seem impossible initially, with consistent practice and patience, anyone can learn to do a handstand. Here are some tips for handstand progression:
1. Build your upper body and core strength: Handstands require a lot of upper body and core strength. You can build this strength by incorporating exercises such as push-ups, pull-ups, planks, and shoulder presses into your workout routine.
2. Practice against a wall: Practice your handstands against a wall to get comfortable with the position. Start with your hands shoulder-width apart, about a foot from the wall. Slowly walk your feet up the wall until your hips are stacked over your shoulders. Practice holding the handstand position for a few seconds at a time.
3. Work on body alignment: Proper body alignment is essential for a successful handstand. Make sure your hands are shoulder-width apart, your shoulders are stacked over your wrists, and your hips are stacked over your shoulders.
4. Engage your core: Engaging your core is crucial for handstands. Focus on engaging your abdominals and glutes to maintain proper alignment and balance.
5. Practice freestanding yoga handstands: Once you are comfortable with wall handstands, try practicing freestanding handstands. Start by kicking up to a handstand and holding for as long as possible. Over time, you will be able to hold the position for longer.
6. Work on body control: As you progress, focus on improving your body control. Try different handstand variations, such as tuck handstands or straddle handstands, to improve your balance and control.
7. Practice regularly: Consistency is key in mastering handstands. Try practicing for a few minutes daily, gradually increasing your hold time as you improve.
Handstand progression takes time and dedication, but anyone can learn to do a handstand with practice. Remember to be patient, stay focused, and enjoy the journey.
At Zuda Yoga, we believe that practicing handstands is an effective and enjoyable way to improve your physical and mental well-being. We invite you to take advantage of our variety of classes and workshops tailored to help build strength, increase balance, and master the art of Adho Mukha Vrksasana. Join us today and unlock the potential within you!


